Portable monitor setup as a second screen
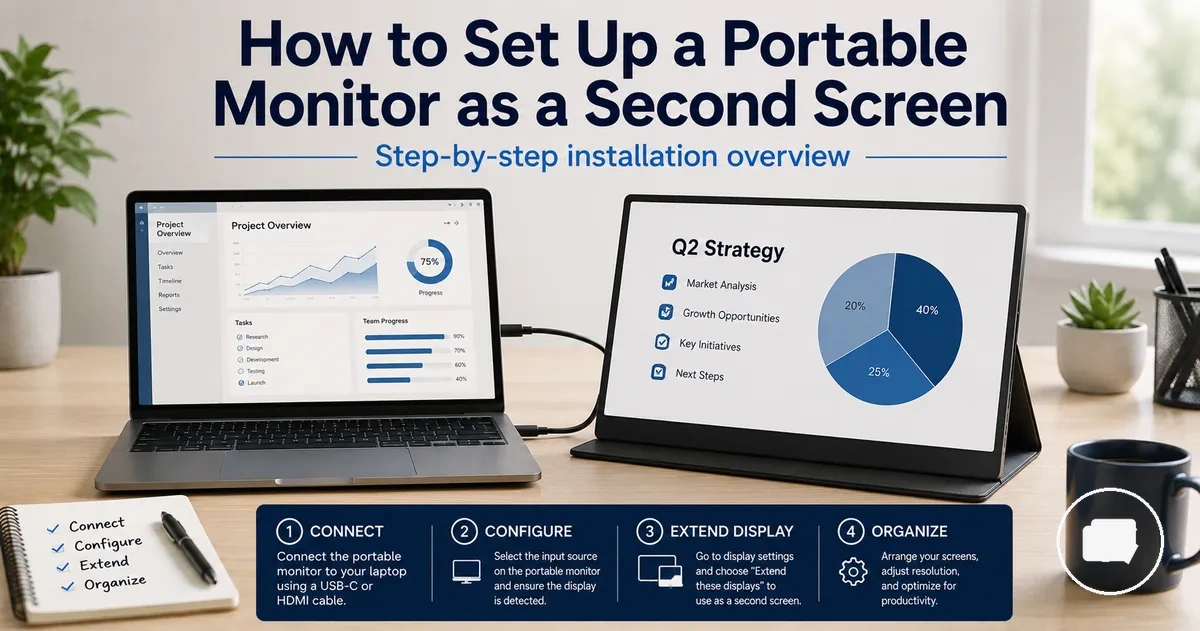
Portable monitor setup is the installation process of using a portable monitor as a second screen for a laptop or another host device. A successful setup depends on the monitor, host device, cable path, power condition, physical support, display settings, and basic screen detection.
When connecting a laptop to a portable monitor, the cable, available power, and supported connection method work together to determine whether the second screen is detected. A USB-C or HDMI connection may require different setup conditions depending on the monitor, cable, host device, and operating system.
A common setup issue is confusing USB-C, HDMI, and display settings as the same requirement. USB-C may carry video and power when the connected devices and cable support that function, while HDMI may require a separate power connection depending on the monitor design. Once the screen is detected, display settings control whether the second screen uses extend display or mirror display and the preferred screen order; detailed compatibility guidance and troubleshooting are covered separately.
Begin by confirming the basic setup requirements before following the connection process. For broader product, feature, and setup context, see the portable monitor guide.
What a portable monitor setup needs before connection
A portable monitor setup depends on a compatible monitor, host device, cable route, power source, and stable placement before any connection begins. These setup requirements determine whether the display configuration can proceed and whether the connected devices may work together as expected.
Review the setup requirements before connecting the portable monitor. The checklist below verifies the essential conditions needed before moving to connection and display configuration.
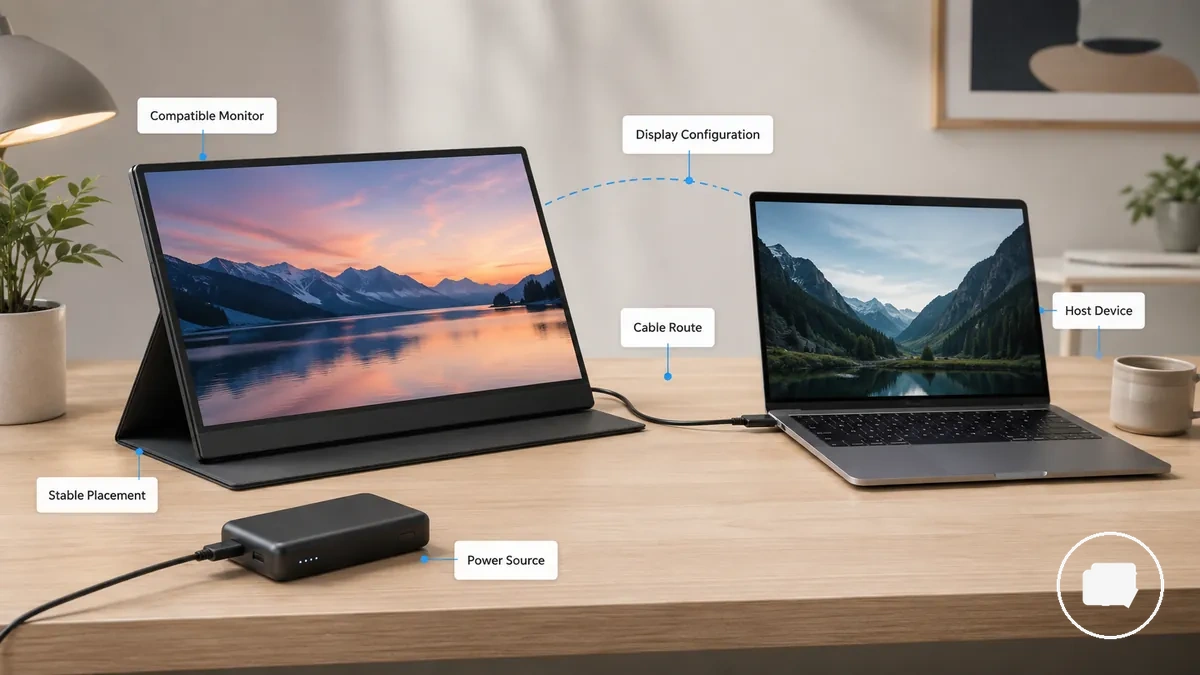
- Confirm that the compatible monitor matches the intended host device.
- Verify that the cable route matches the available ports and planned connection method.
- Check that an appropriate power source is available when the setup requires one.
- Place the portable monitor on a stable placement surface or kickstand before connecting it.
- Make sure the host device provides access to display configuration after the connection is established.
- Confirm that the basic setup requirements are satisfied before expecting the second display to be detected.
This mini-checklist verifies the core setup conditions rather than diagnosing connection problems or confirming model-specific support. If compatibility depends on a particular device model, port, or cable, those checks belong in a separate compatibility review.
For model-level verification beyond these setup basics, refer to the portable monitor compatibility checklist.
Cable, port, and power conditions for setup
Cable, port, and power conditions determine the setup path for a portable monitor. Whether the monitor receives a video signal, power, or both depends on the capability of the monitor port, laptop port, cable, and connection method rather than the connector shape alone.
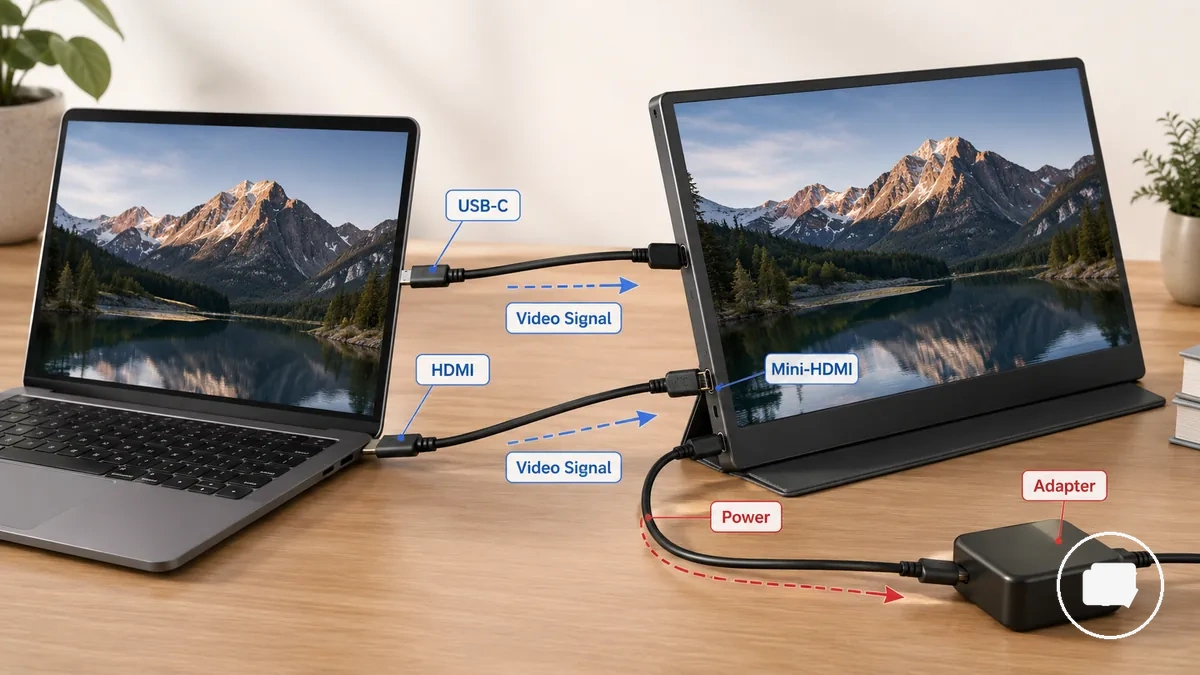
Video signal and power are separate connection functions. A USB-C connection may carry both video signal and power when the monitor, host port, and cable support that capability, while HDMI carries video and may require separate power depending on the monitor design.
Choosing the correct connection path starts with matching the available ports and cable capabilities. The table below organises the common setup paths so the required condition, carried function, and possible setup risk can be compared before connecting the portable monitor.
| Connection path | Required condition | What it carries | Setup risk |
|---|---|---|---|
| USB-C | Compatible USB-C port and cable | Video signal and power when supported | May fail if the host port or cable does not support the required capability |
| HDMI | HDMI or mini-HDMI port with a suitable cable | Video signal | Separate power may be required |
| HDMI with adapter | Adapter compatible with both connection types | Depends on the adapter and connected ports | Capability may vary by adapter and device |
| Separate power | Available power source | Power only | The monitor may not turn on when separate power is required but unavailable |
Use the table to match the available connection path with the required condition before starting setup. For more detailed guidance about connection types and their requirements, see USB-C and HDMI portable monitor setup.
If uncertainty remains because of a specific monitor, laptop, port, or adapter, refer to the portable monitor compatibility checklist.
USB-C single-cable setup conditions
USB-C single-cable setup depends on the host port, cable, and portable monitor supporting the required video signal and power delivery. A single-cable setup may work only when these conditions are supported together.
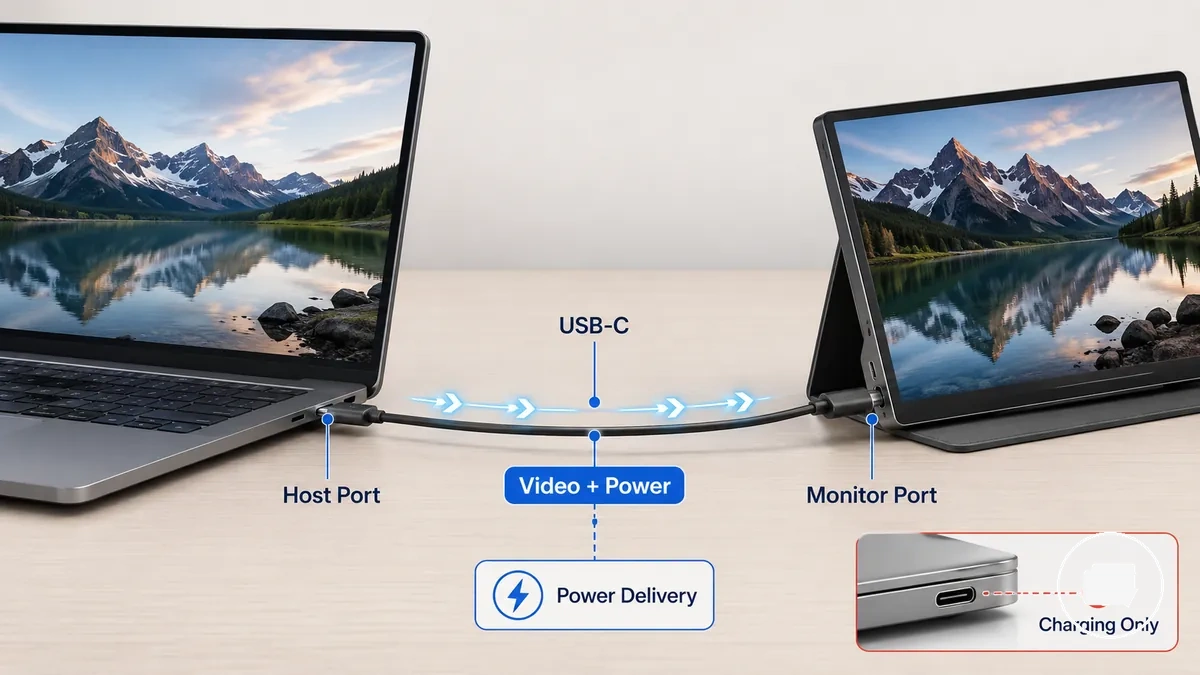
Verify the following conditions before relying on one USB-C cable for both display and power:
- Confirm that the host port supports the required video signal rather than USB-C connectivity alone.
- Verify that the portable monitor USB-C port accepts the required display signal.
- Use a USB-C cable that supports both video signal and power delivery instead of a charging-only cable.
- Check whether sufficient power delivery is available when the monitor is expected to receive power through the same cable.
- If the monitor is not detected, review the combined capabilities of the host port, monitor port, and cable instead of assuming the USB-C connector alone provides display support.
A charging-only USB-C connection can supply power without carrying a display signal. The USB-C connector shape alone does not confirm that a single-cable setup supports both video and power.
HDMI setup with separate power
HDMI setup with separate power usually uses HDMI for the video signal, while power comes from USB, an adapter, or another power source depending on the portable monitor design. Connecting an HDMI cable alone may not power the monitor.
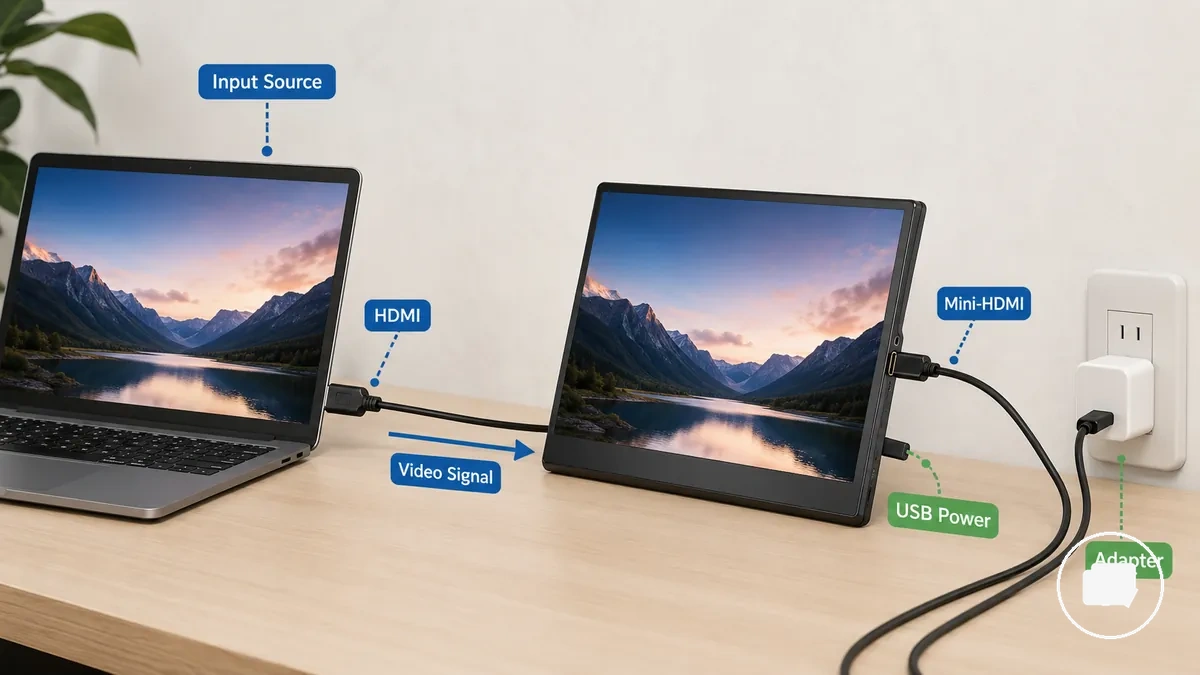
Verify the following conditions before relying on an HDMI connection:
- Confirm that the monitor uses the correct HDMI or mini-HDMI input for the video signal.
- Check that the HDMI cable is connected to the correct laptop and monitor ports.
- Use an adapter only when it matches the required connection path.
- Connect the required USB power or other separate power source if the monitor design requires it.
- Select the correct input source if the monitor provides more than one video input.
If the HDMI cable is connected but the monitor remains off, check the separate power connection before assuming the video path is the cause. A missing power cable, an incorrect input source, or an unsuitable adapter can prevent the monitor from operating even when the HDMI video signal is connected.
How to connect the portable monitor to the laptop
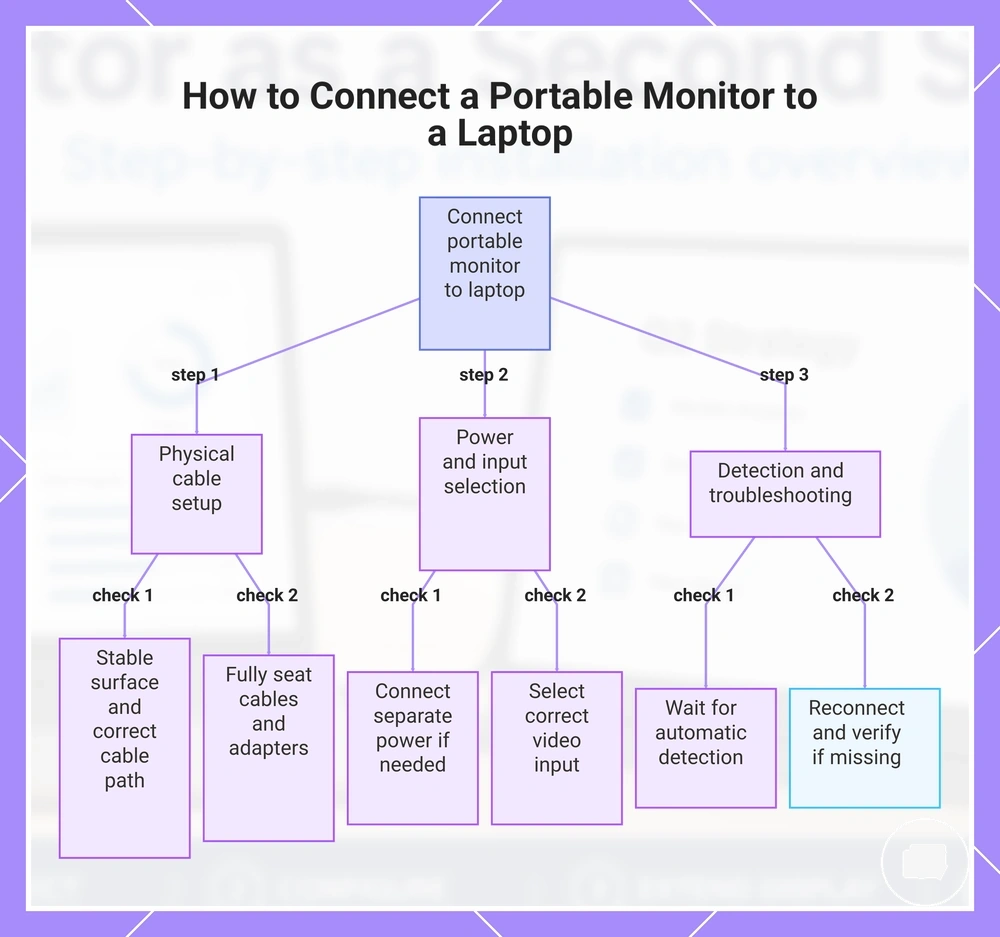
Connect the portable monitor by following the cable path confirmed by the monitor and laptop ports. Complete the physical connection first, then confirm power and display detection instead of assuming the screen will appear immediately.
Place the portable monitor on a stable surface before connecting any cable so the cable path is not under strain. Make sure each cable and any adapter is fully seated in the correct input, and connect the required power source when the monitor design requires separate power.
- Place the portable monitor beside the laptop and confirm that the planned cable path matches the available ports.
- Connect the video cable to the correct monitor and laptop input, then check that each connector is fully seated.
- Connect the required power cable if the monitor design needs a separate power source.
- Turn on the portable monitor and select the correct input if more than one video input is available.
- Wait for detection. If the display is not detected, reconnect the cable and confirm the selected input and power connection before moving to advanced troubleshooting if needed.
If the monitor powers on but no display appears, confirm that the video connection, input selection, and cable path match the intended setup. Display detection can depend on both the display signal and available power.
Avoid placing strain on cables or leaving adapters partially connected. Loose adapters or insufficient power can interrupt the connection even when the cables appear to be attached correctly.
This chart shows the main steps and checks for connecting a portable monitor to a laptop, from physical setup to troubleshooting detection issues.
How to position and support the portable monitor
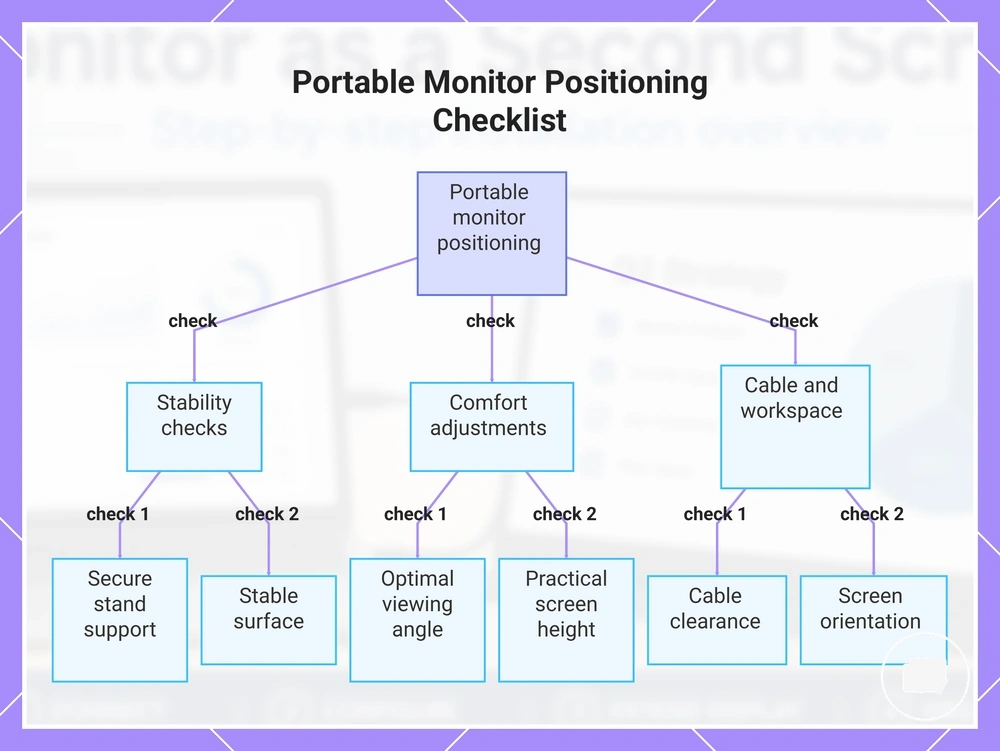
Position and support the portable monitor so the screen remains stable, the viewing angle stays comfortable, and the cable path is not placed under unnecessary strain. Stable support improves usability and cable stability, while comfort and fit may vary with the desk, travel, or workspace conditions.
A desk setup may allow greater flexibility for screen height and viewing angle, while a travel setup often relies on a kickstand or folding case to reduce the space required. In a compact workspace, adjust the screen orientation and placement so the monitor fits the available surface without restricting cable clearance or normal laptop use.
Before settling on the final position, confirm that the monitor remains stable during normal use and that the cables can move without being pulled or sharply bent. The checklist below helps verify the physical arrangement after the monitor has been connected.
- Check that the stand, kickstand, or folding case supports the monitor securely.
- Adjust the viewing angle to suit the seating position and workspace.
- Place the screen at a practical height for the current desk or travel setup.
- Maintain adequate cable clearance so connectors are not under tension.
- Choose a screen orientation that matches the available workspace and intended task.
- Confirm that the supporting surface remains stable throughout normal use.
Use the checklist to confirm that the portable monitor is supported securely before extended use. If the workspace changes, reposition the monitor and recheck the viewing angle and cable clearance. For broader workspace arrangement guidance after the monitor is positioned, see portable monitor work setup.
This chart shows the key verification points for positioning a portable monitor to ensure stable support, comfortable viewing, and proper cable management.
How to configure the portable monitor in display settings
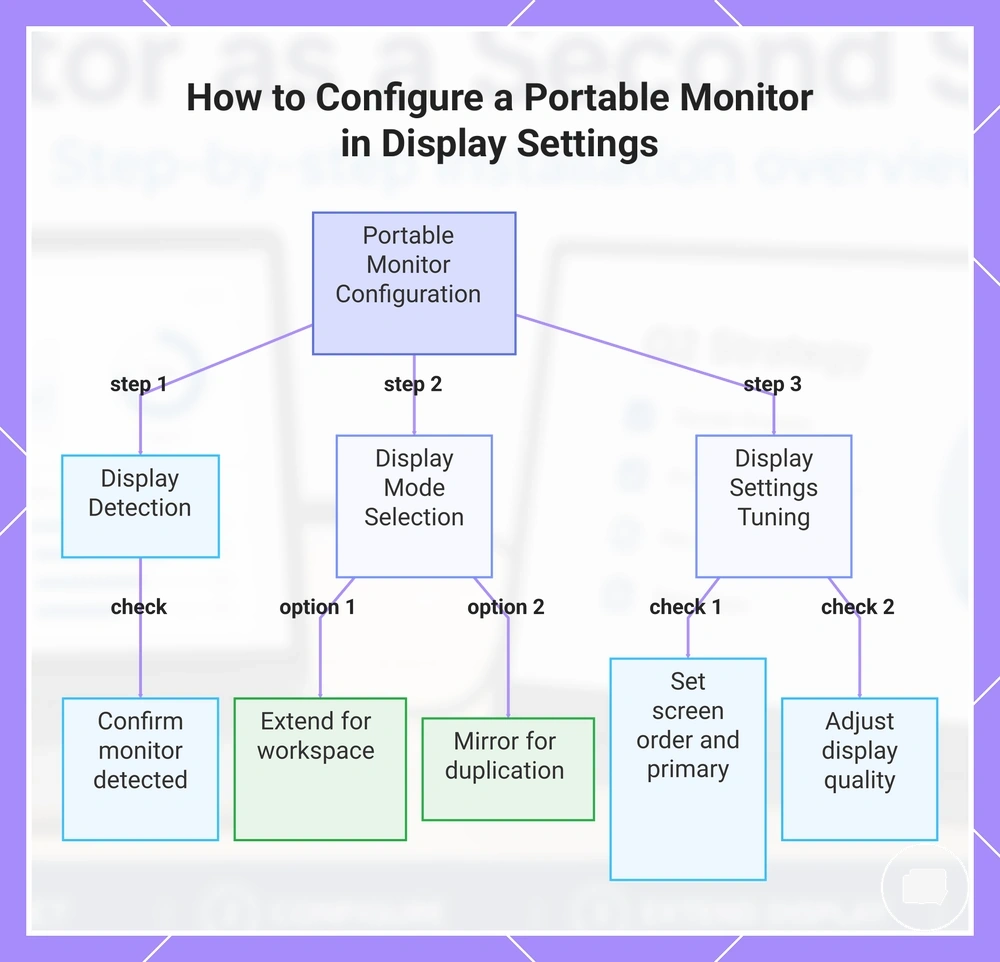
Display settings complete the portable monitor setup by assigning the second screen to the intended display mode, screen order, resolution, scale, and orientation after the physical connection is complete. The portable monitor becomes a usable second screen after the operating system detects the display and the required settings are configured.
If the portable monitor is connected but is not behaving as expected, first confirm that it appears as a detected display in the available display settings. Operating-system names and menu locations may differ, but the configuration process usually starts by selecting the detected display before changing the display mode or screen arrangement.
- Confirm that the detected display appears in the available display settings.
- Select extend to create additional workspace or mirror to duplicate the existing display.
- Arrange the screen order so the on-screen layout matches the physical position of the laptop and portable monitor.
- Review the resolution, scale, and orientation so the display matches the intended working arrangement.
- Select the primary display only if you want the laptop or portable monitor to become the main screen.
Choose extend when a larger workspace across two screens is needed. Choose mirror when both displays should show the same content. The appropriate display mode depends on how the second screen will be used.
If text size, layout, or screen direction does not appear suitable, adjusting scale, resolution, or orientation may improve the display arrangement. The available options can vary by operating system and connected device.
This chart shows the three main steps to configure a portable monitor in display settings: detecting the display, selecting the display mode, and fine-tuning screen settings.
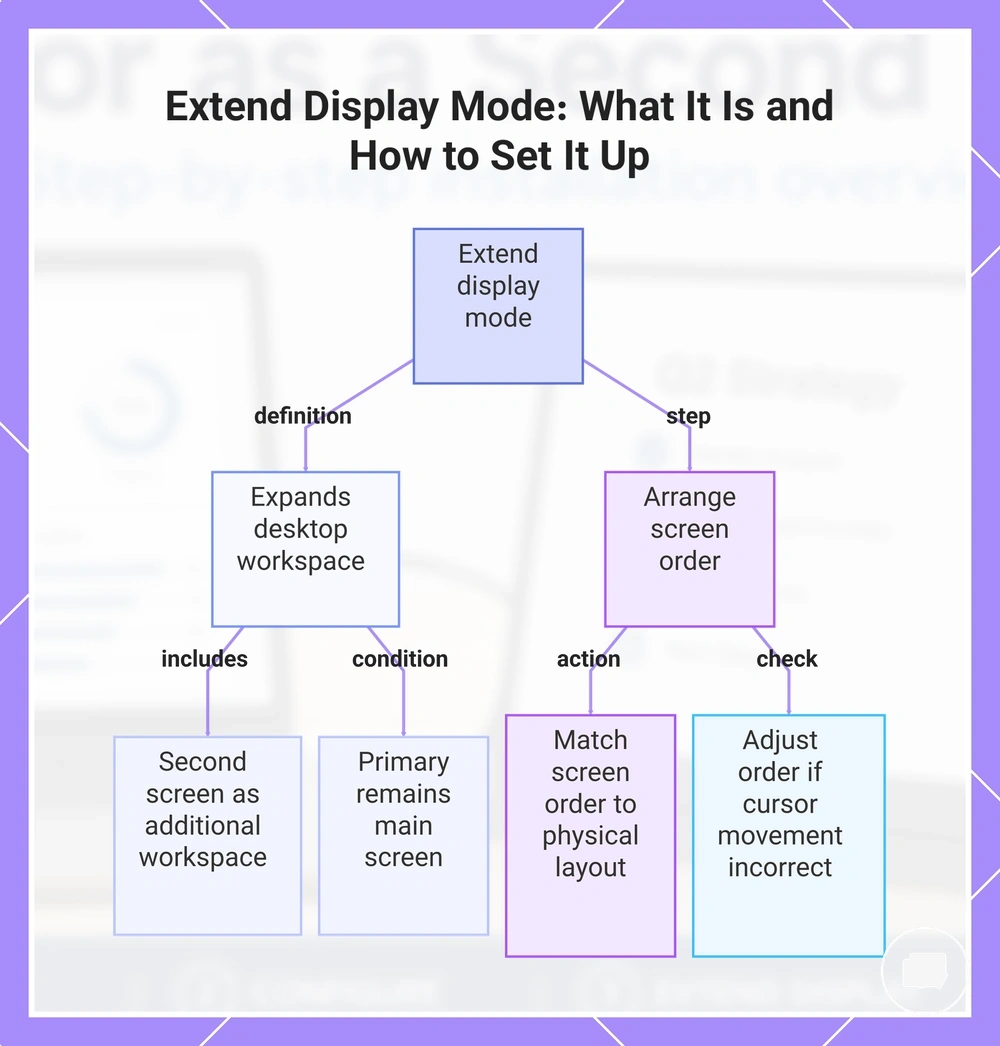
Extend display mode
Extend mode uses the portable monitor as additional workspace instead of showing a duplicate of the main screen. The second screen becomes part of a larger desktop, while the primary display remains the main screen unless different display settings are selected.
When using extend mode, arrange the screen order so it matches the physical position of the laptop and portable monitor. If the arrangement reflects the actual desk layout, cursor direction and window placement usually follow naturally as windows and the pointer move between the two screens. If movement feels incorrect, adjusting the screen order may produce a layout that better matches the physical arrangement.
This chart explains how extend display mode works and how to configure screen order for natural cursor and window movement.
Mirror display mode
Mirror mode duplicates the laptop screen on the portable monitor so both displays show the same content. Unlike extend mode, it creates a duplicate screen instead of additional workspace, making the same image visible on both displays.
Mirror mode is useful when a presentation, shared viewing, or another visibility requirement calls for both screens to display the same content. The duplicated image appears on both displays, while resolution matching may depend on the connected devices and the selected display settings.
Choose mirror mode when identical content on both screens is the goal rather than expanding the desktop into a second workspace.
Screen order and resolution settings
Screen order and resolution settings determine how naturally the portable monitor behaves after a display mode is selected. These settings organize the display arrangement so cursor movement, text size, and overall viewing comfort more closely match the physical monitor layout.
If the cursor moves in an unexpected direction or the display is difficult to read, adjusting the display arrangement and related settings can improve everyday usability. Use the checklist below to review the settings that most directly affect the display layout.
- Set the screen order so the display arrangement matches the physical position of the laptop and portable monitor, helping cursor movement feel more natural.
- Choose an appropriate resolution, as perceived sharpness may depend on the selected display resolution and the connected screen.
- Adjust scale if text size appears too small or too large for comfortable viewing.
- Select the correct orientation so the display layout matches how the portable monitor is positioned.
- Confirm the intended primary display if applications should open on a specific screen.
- Review the refresh setting if it is available, as supported options can vary by device and operating system.
If cursor movement or readability still feels unusual, adjusting the screen order or scale may produce a display arrangement that better matches the connected screens and workspace.
Basic setup checks when the monitor is not detected
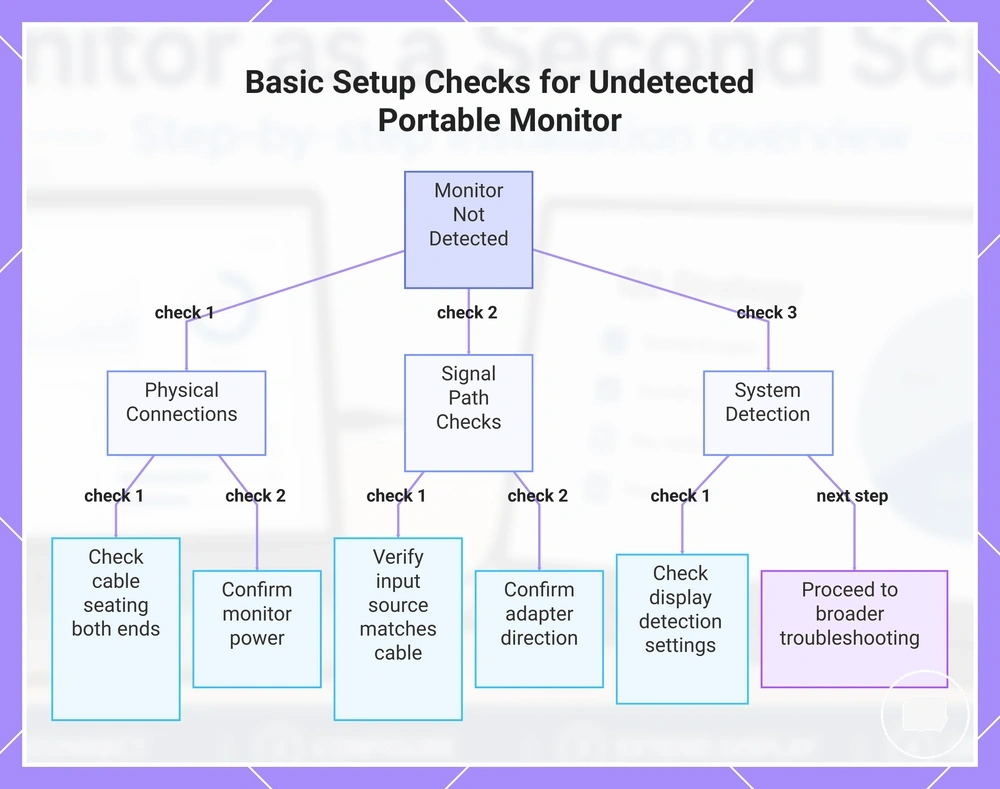
When a portable monitor is not detected, first check cable seating, power, the input source, port capability, and display detection settings. If these setup checks do not restore detection, a more detailed troubleshooting process may be needed.
Many detection issues begin with the physical connection. Confirm that every cable is fully seated, the monitor has the required power, and the selected connection matches the available port capability. If necessary, reconnect the cable to repeat the signal check.
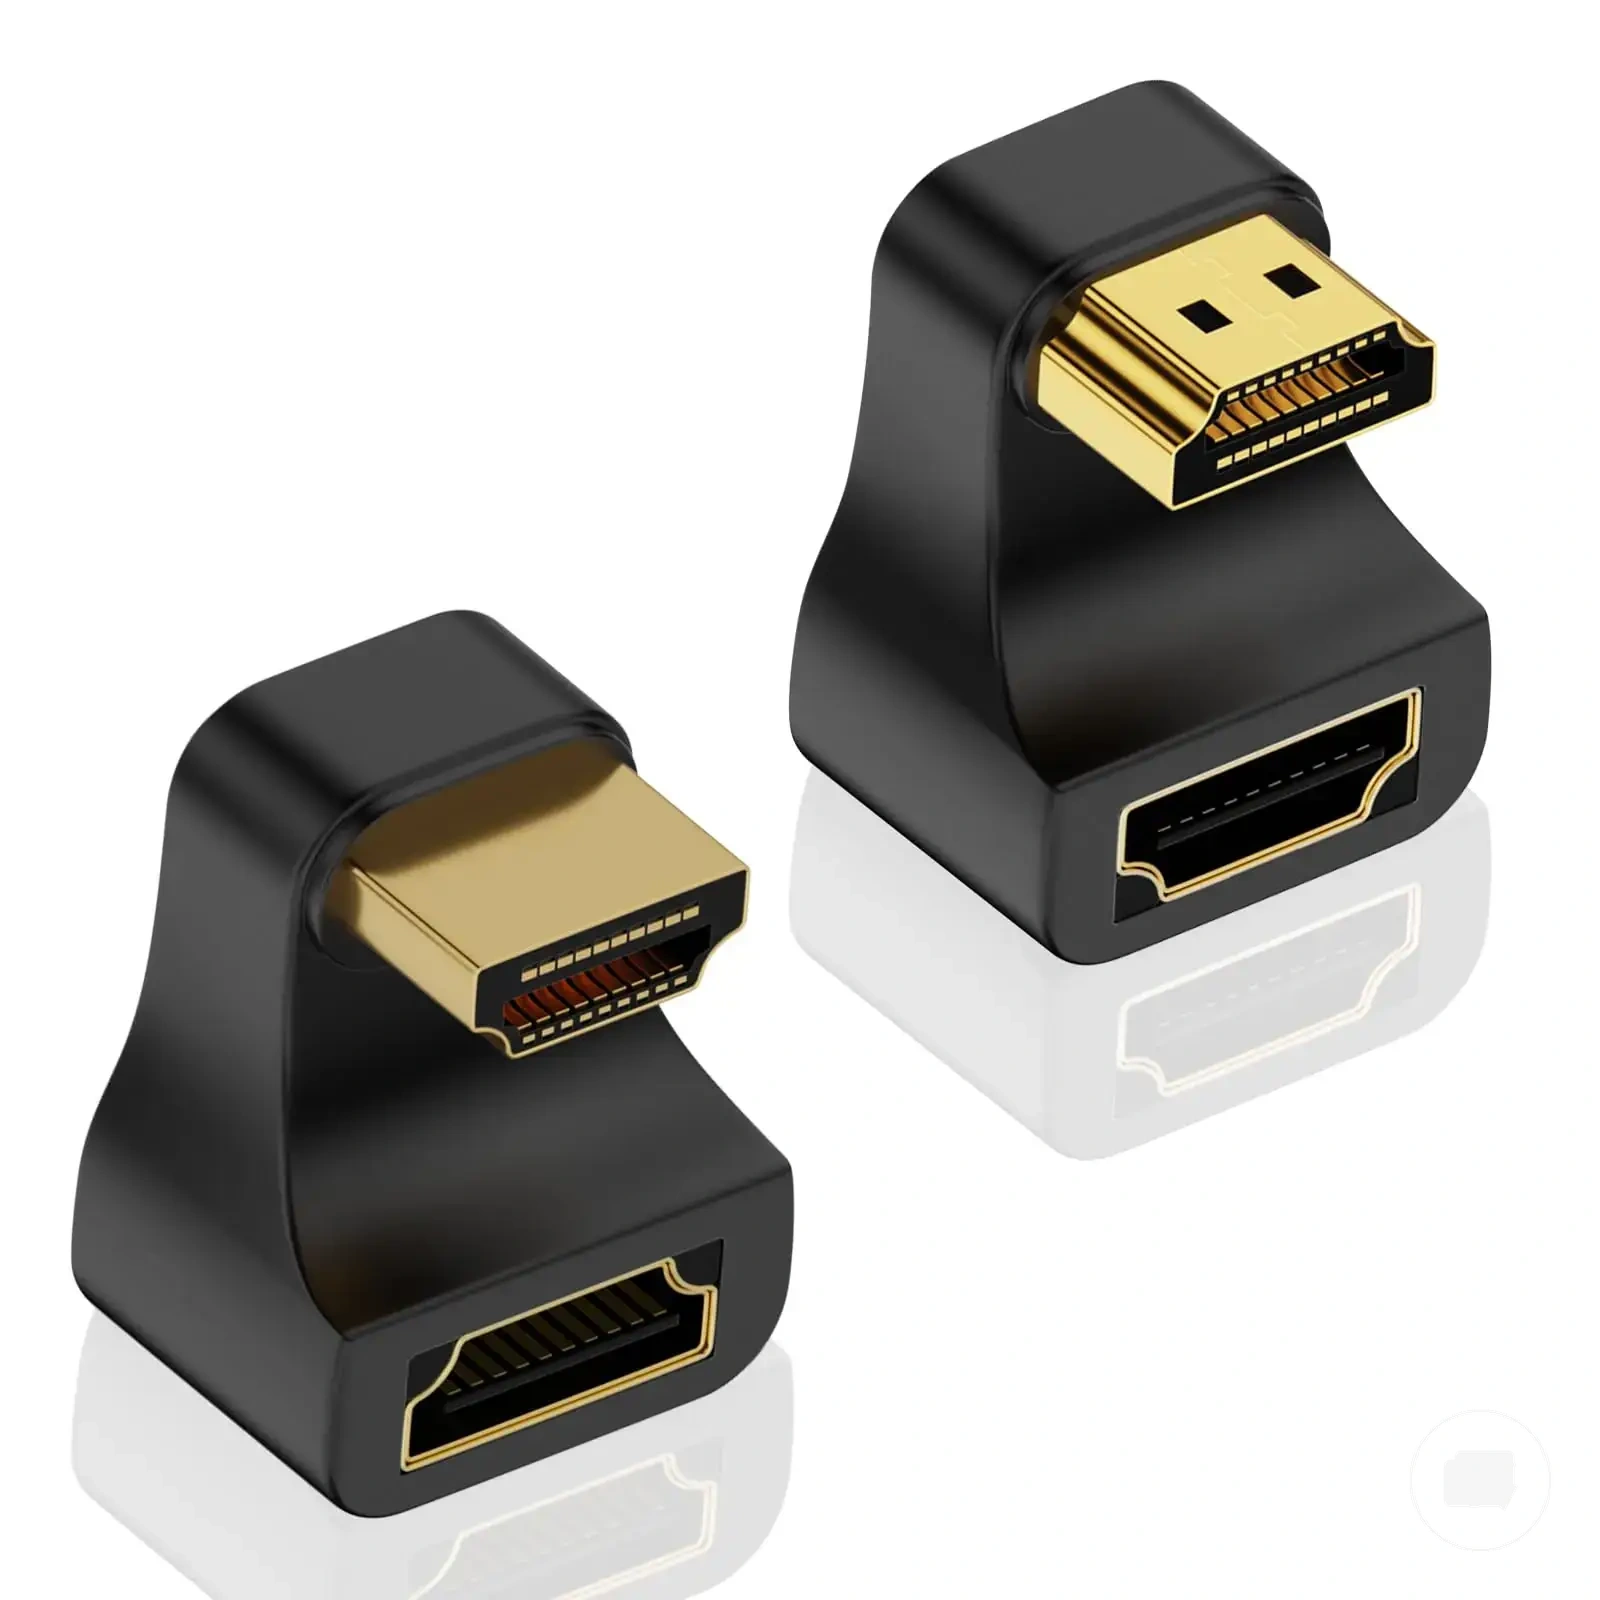
If the monitor is still not detected, verify that the correct input source is selected on the monitor and that any adapter is connected in the intended adapter direction. Then review the laptop's display detection settings to check whether the external display appears before considering deeper troubleshooting.
Use the following checklist to separate common setup issues from more complex faults:
- Not detected: Check cable seating at both the laptop and monitor.
- No display: Confirm that the monitor has the required power.
- No image: Verify that the selected input source matches the connected cable.
- Using an adapter: Confirm the adapter direction matches the intended connection path.
- Display not listed: Check the laptop's display detection settings, then reconnect the cable.
- Still not detected: Continue to broader troubleshooting if these basic setup checks do not restore detection.
If the monitor remains undetected after these setup-level checks, continue with portable monitor troubleshooting for further diagnosis. Replacement cables, adapters, or power accessories may help when a setup component is suspected to be the cause.
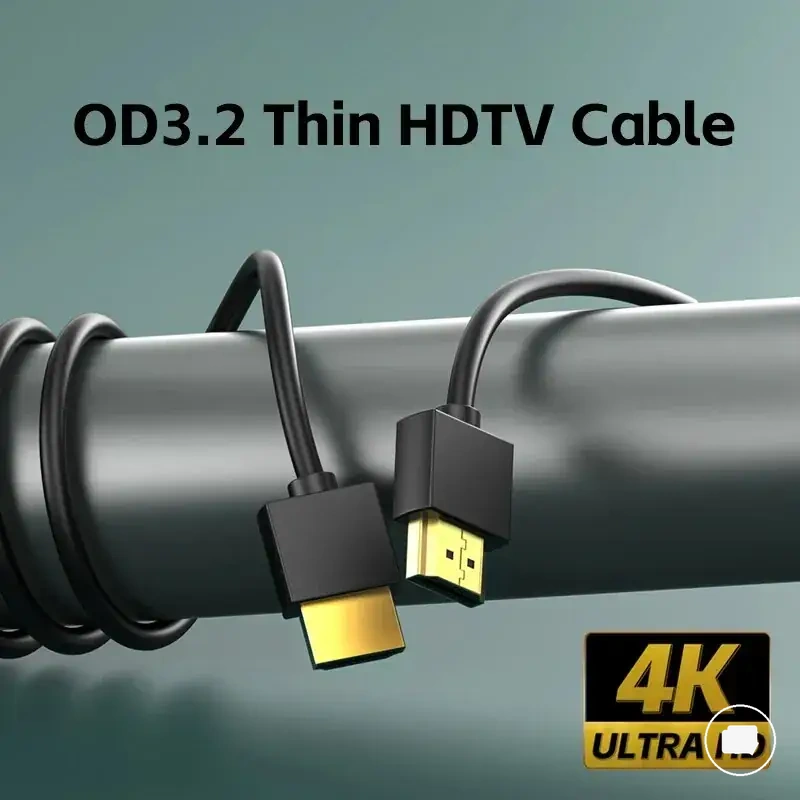
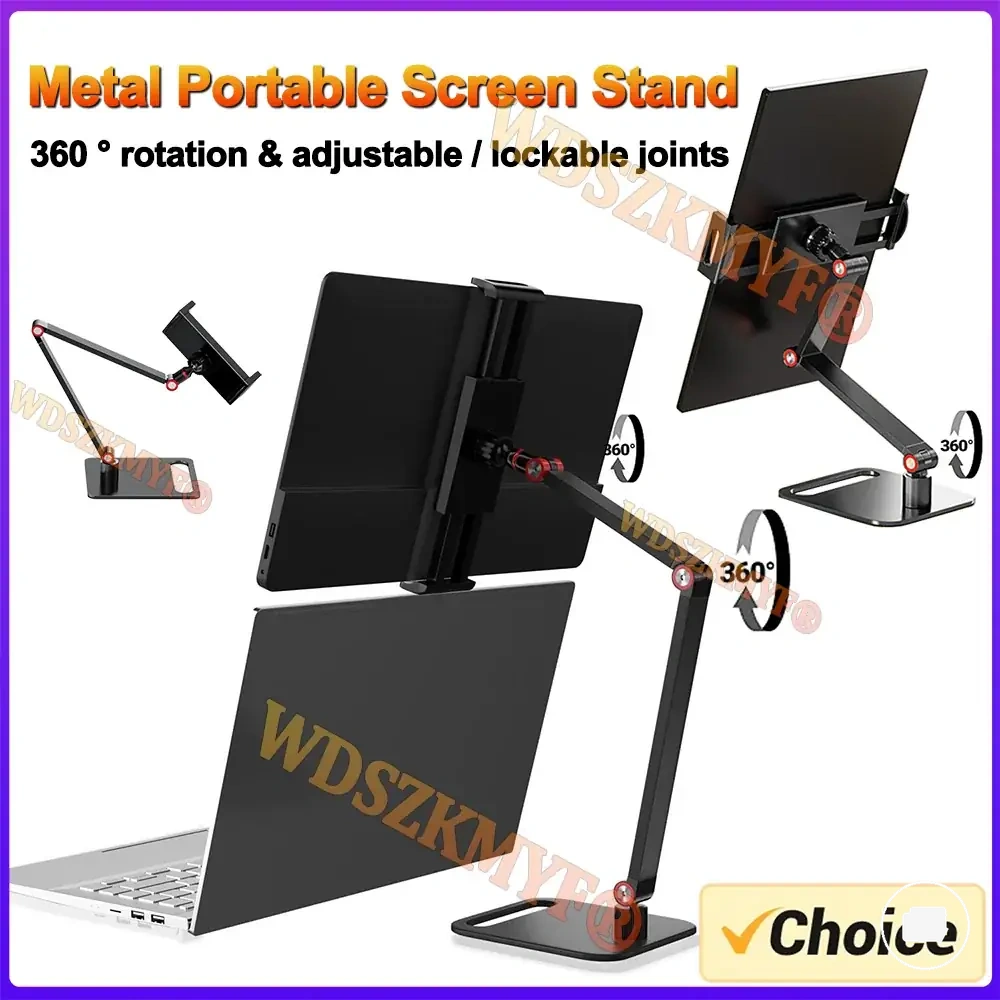
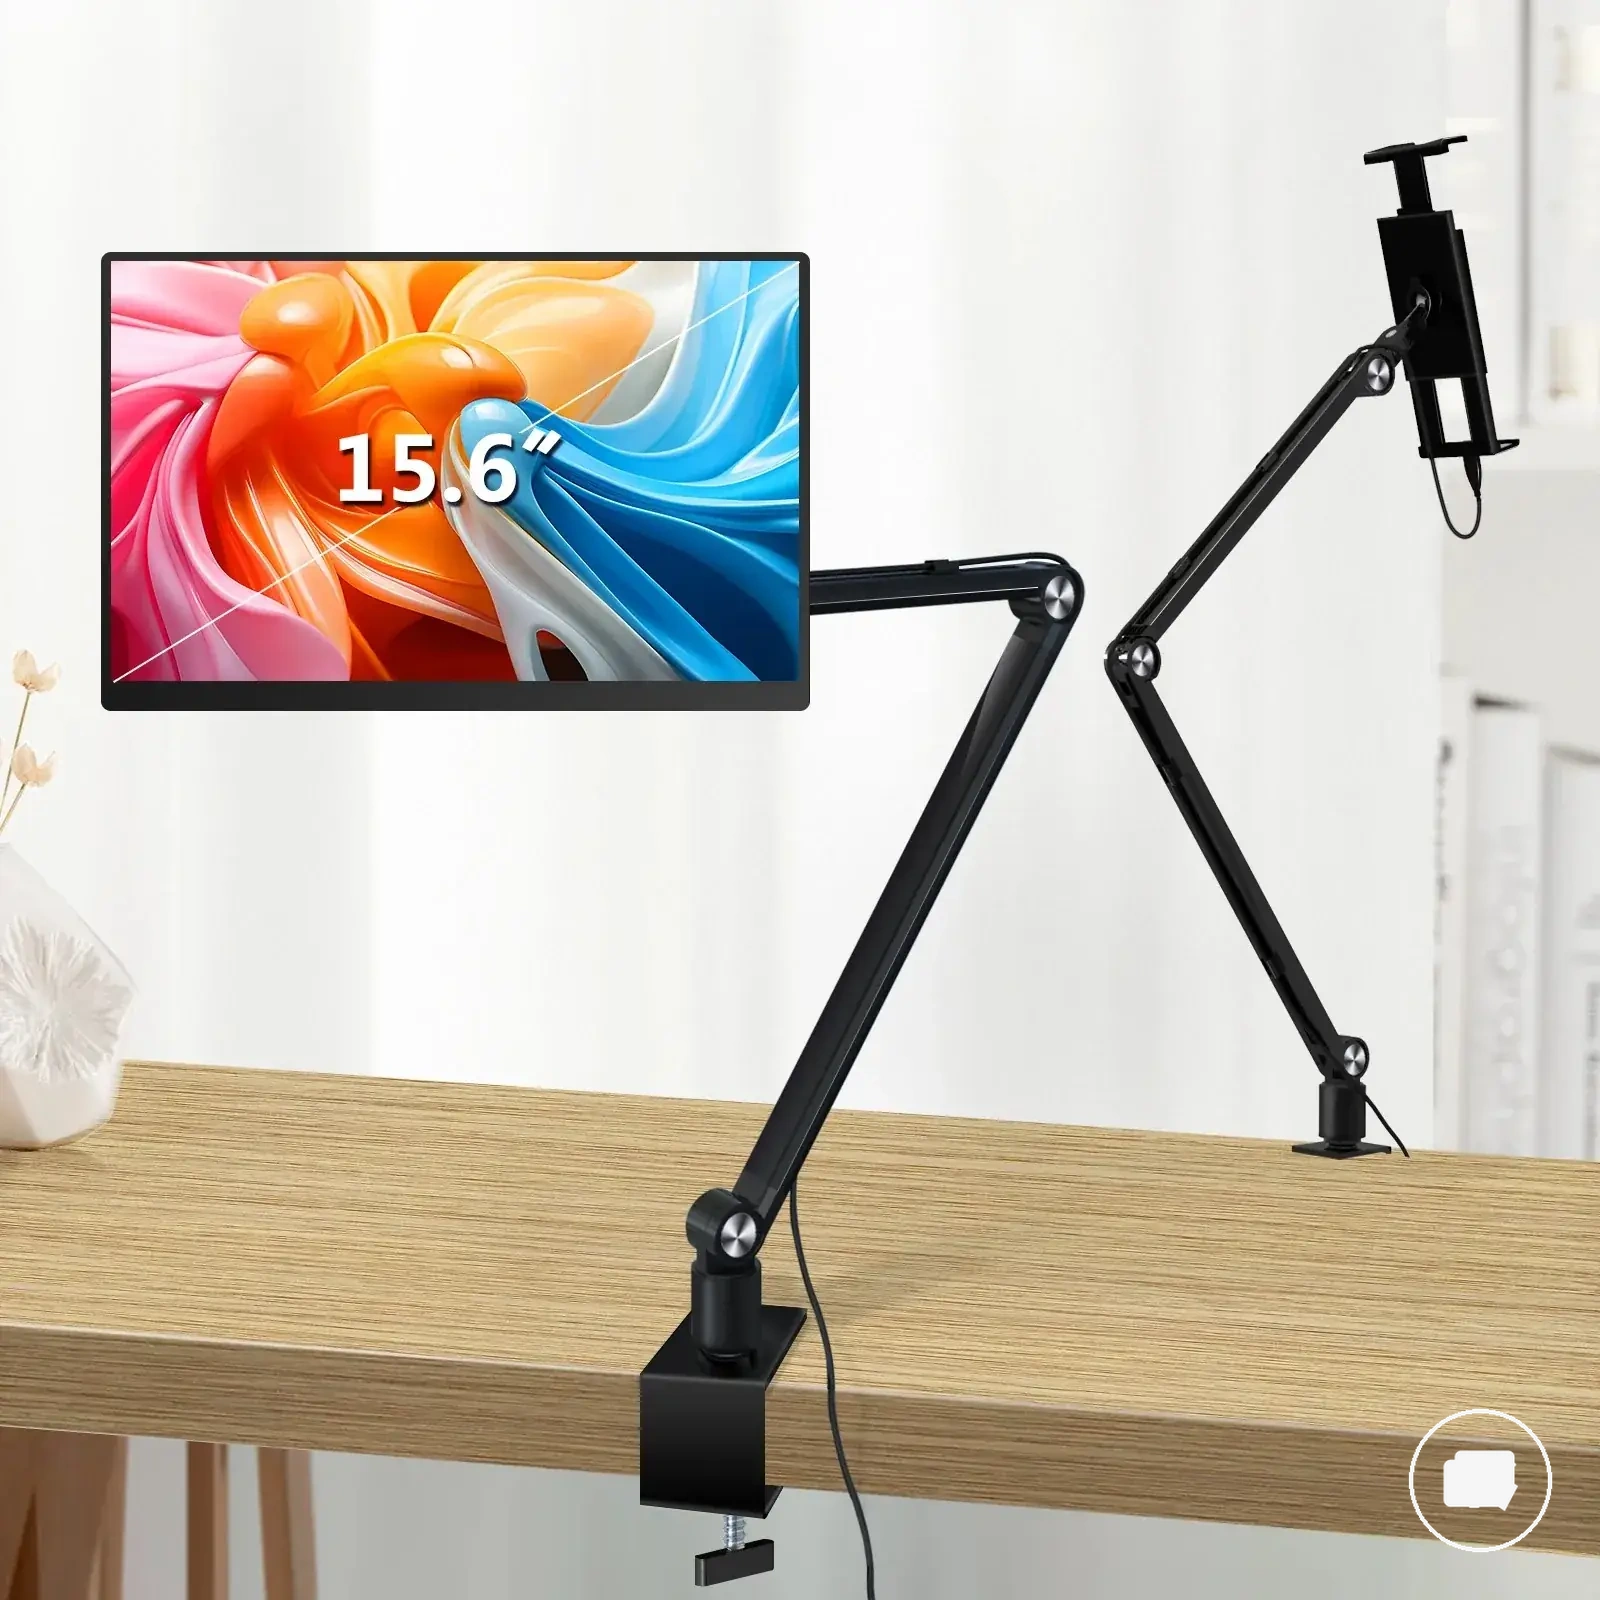
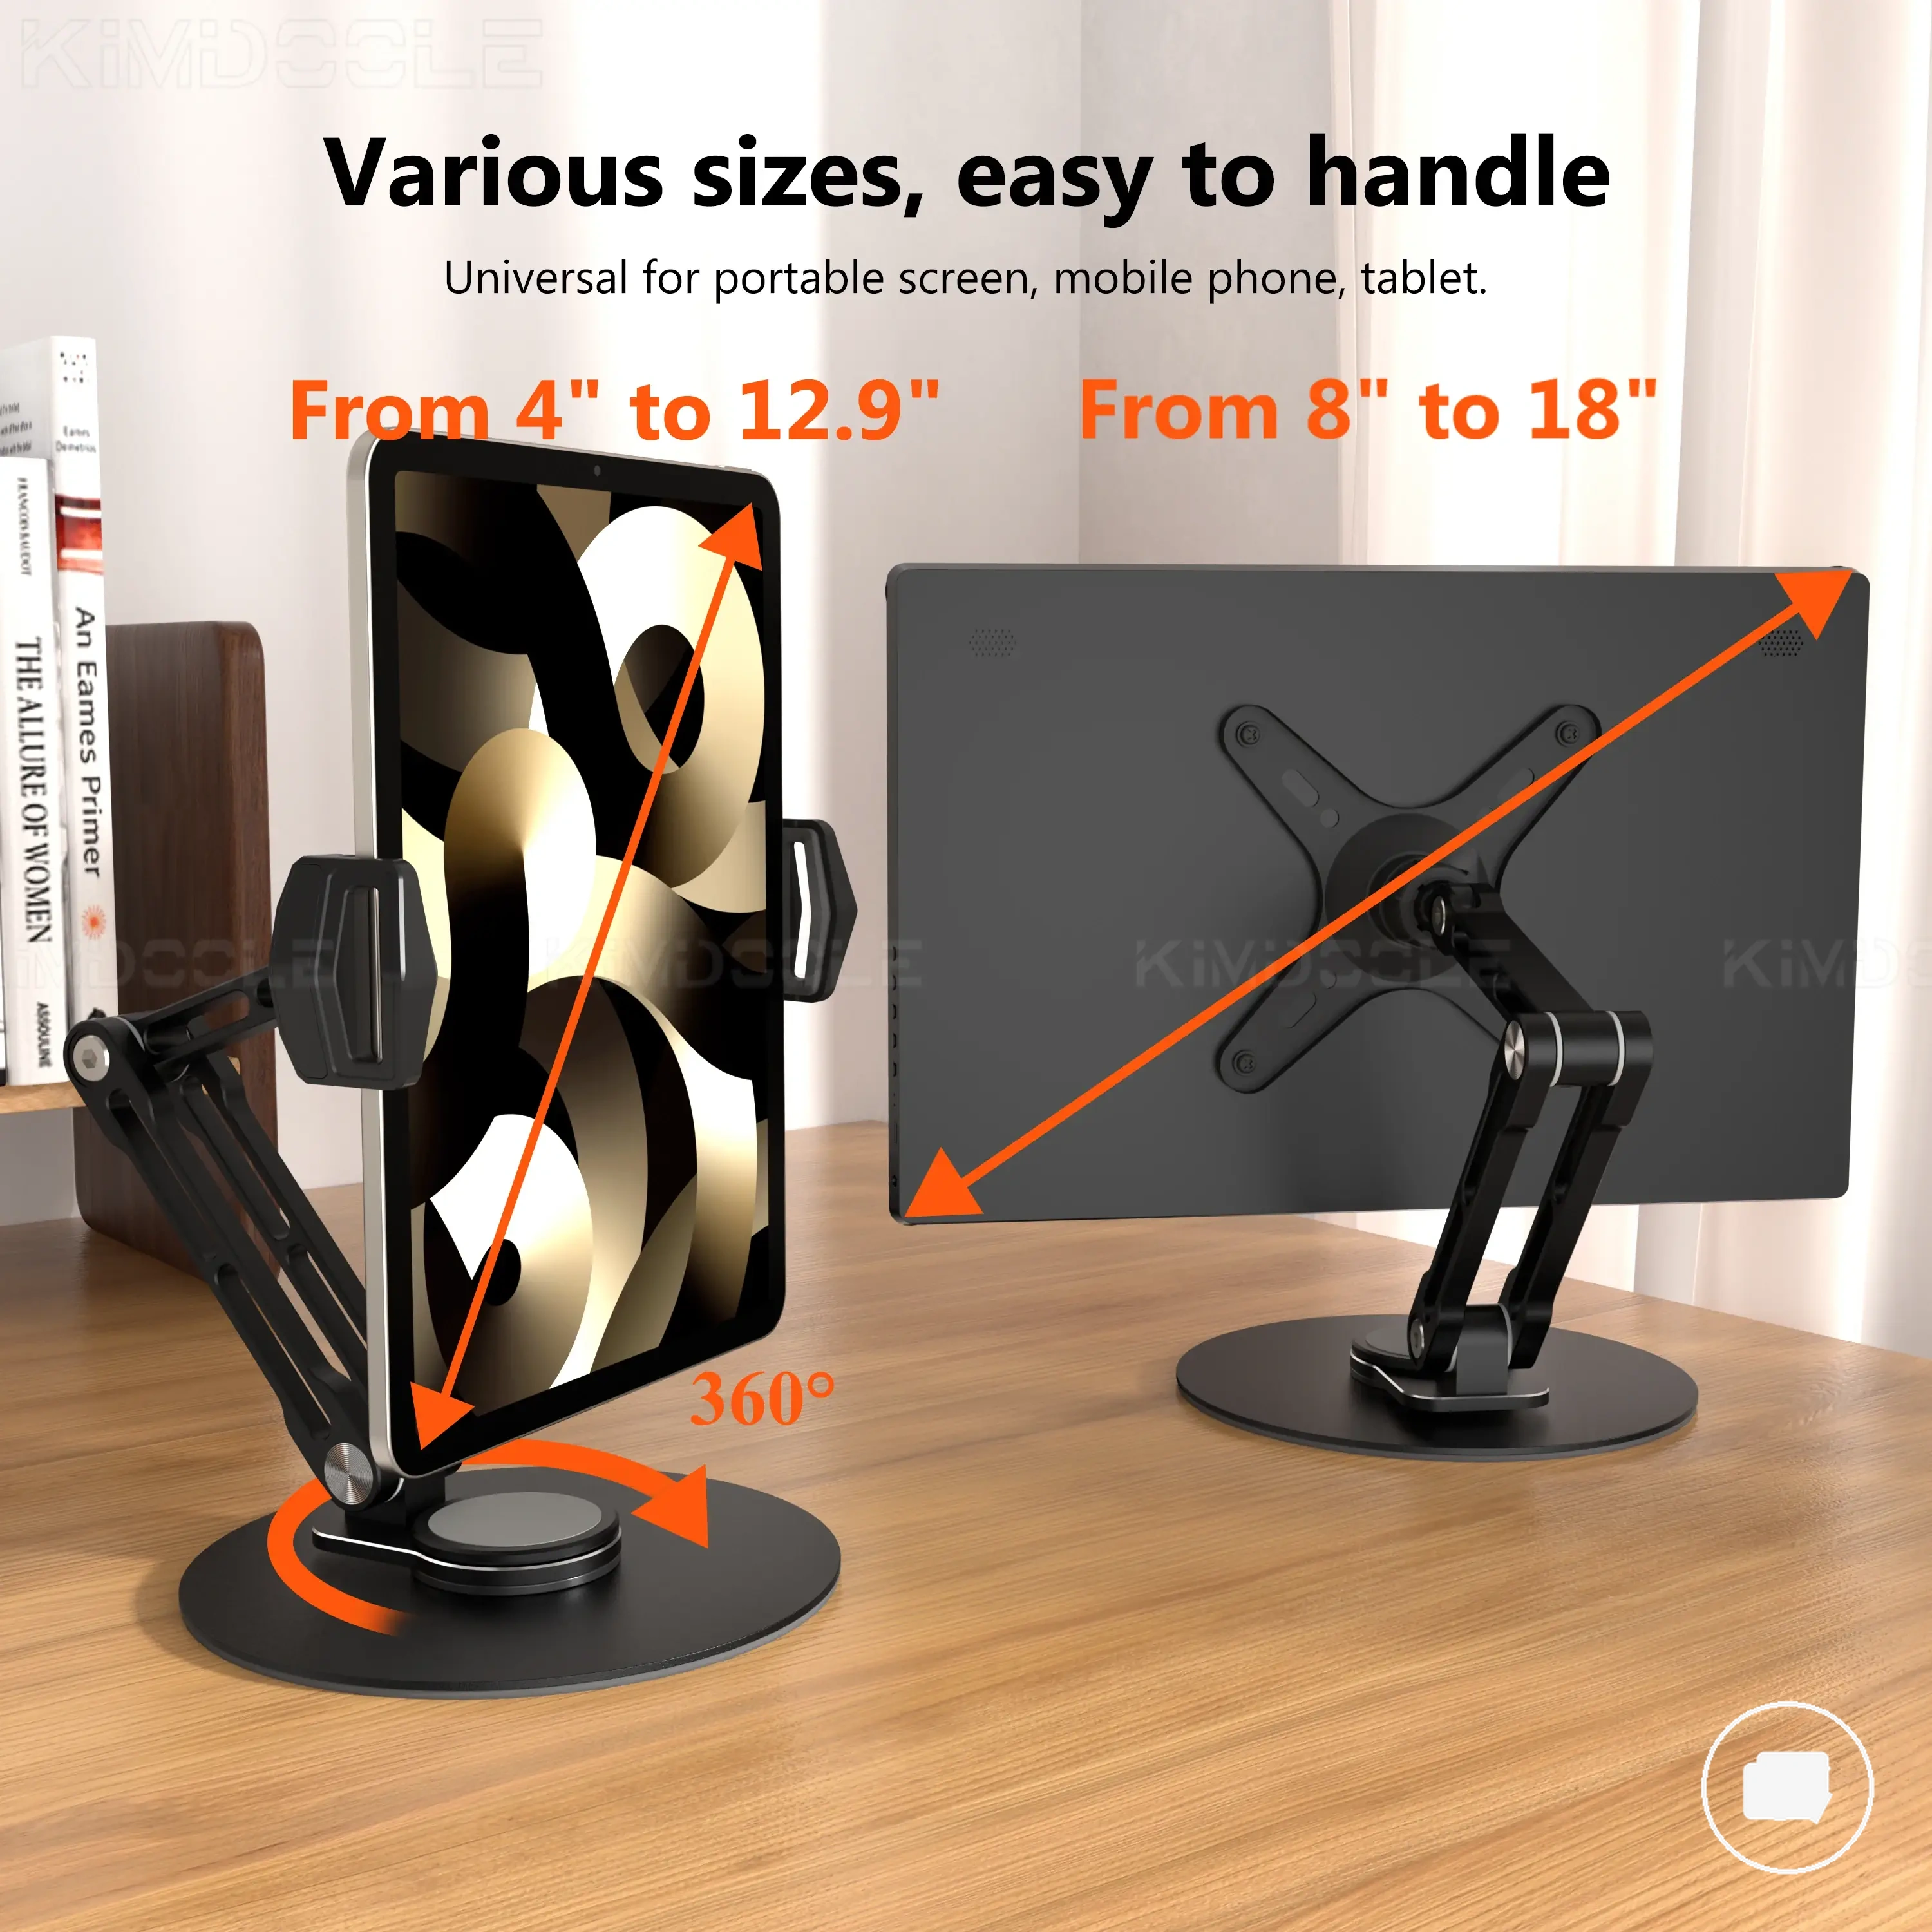
Here are product examples that may make comparison easier. Before buying, always review the compatibility criteria, essential features, and product details.
This chart groups the essential setup checks to perform when a portable monitor is not detected, covering physical connections, signal path, and system detection.